Showing posts with label card set. Show all posts

Wednesday, March 5, 2014

Finally... March Workshop: Flaps & Patches

"Flaps & Patches"
Sunday, March 16
Nishida residence in Aiea
Kit Cost: $15
RSVP by Wednesday, March 12
bring your tape runner

We skipped our card making session last month, but we are ready to go in March!  Hope you can join us to make this cute set of cards that incorporate flaps and some simple patchwork designs.  Here are Bliss' samples... love them!


Wednesday, February 6, 2013

February Workshop: Glorious Girlfriends

"Glorious Girlfriends"
Sunday, February 24
Nishida residence in Aiea
Kit Cost: $15
RSVP by February 15
bring your tape runner!

During our crafting time this month, we'll be pulling out the Enchanted Papers and embellishments to create cards and little gifts with a feminine flair.  Bliss has some projects in mind, including a CD holder and tea favors.  Recently, I've found inspiration on Pinterest, which is a crafter's dream!  All of my card designs/projects this month were patterned after something I've found on Pinterest. 

Card set

Post it holder

Gift card "wallet"

Open up the wallet for a surprise inside!

Another gift card holder with a belly band.

 You could also slip a note inside the pocket instead of a gift card.
Hope you can join us later this month to create these fun projects. Happy Valentines Day!

Sunday, January 27, 2013

CM Party Project

For the past couple of months, Creative Memories has been selling "Party Project" kits.  Once you purchase the kit of "ingredients," you can follow the instruction sheet given to complete a quick and easy album/display/card set.  The January/February Party Project, "P.S. I Love You," featured a set of 24 note cards and postcards.  Tackling this project was the perfect way to unwind on a Friday night.  Here are my kit components...

Also included was a silver metallic pen (not shown above).
Following the instruction sheet was a breeze! Everything was included in the kit, even adhesive foam squares, which means I didn't even have to take out my tape runner.  Each card was simply designed, using a combination of epoxy stickers, die cuts, and title stickers.

I love the gems that this kit came with!
The folded cards were so easy to complete as they were all preprinted.
So I kept rolling along, and it took me about an hour and a half to complete all 24 note cards.  At $35, this was a great value.  All the note cards came with envelopes, and I had leftover foam squares and epoxy/gem stickers to use on other projects.  Although most of these cards were themed around Valentines Day, some of them can be used for other greetings as well.  It was definitely a successful evening of crafting!

Tuesday, January 22, 2013

January Workshop Recap

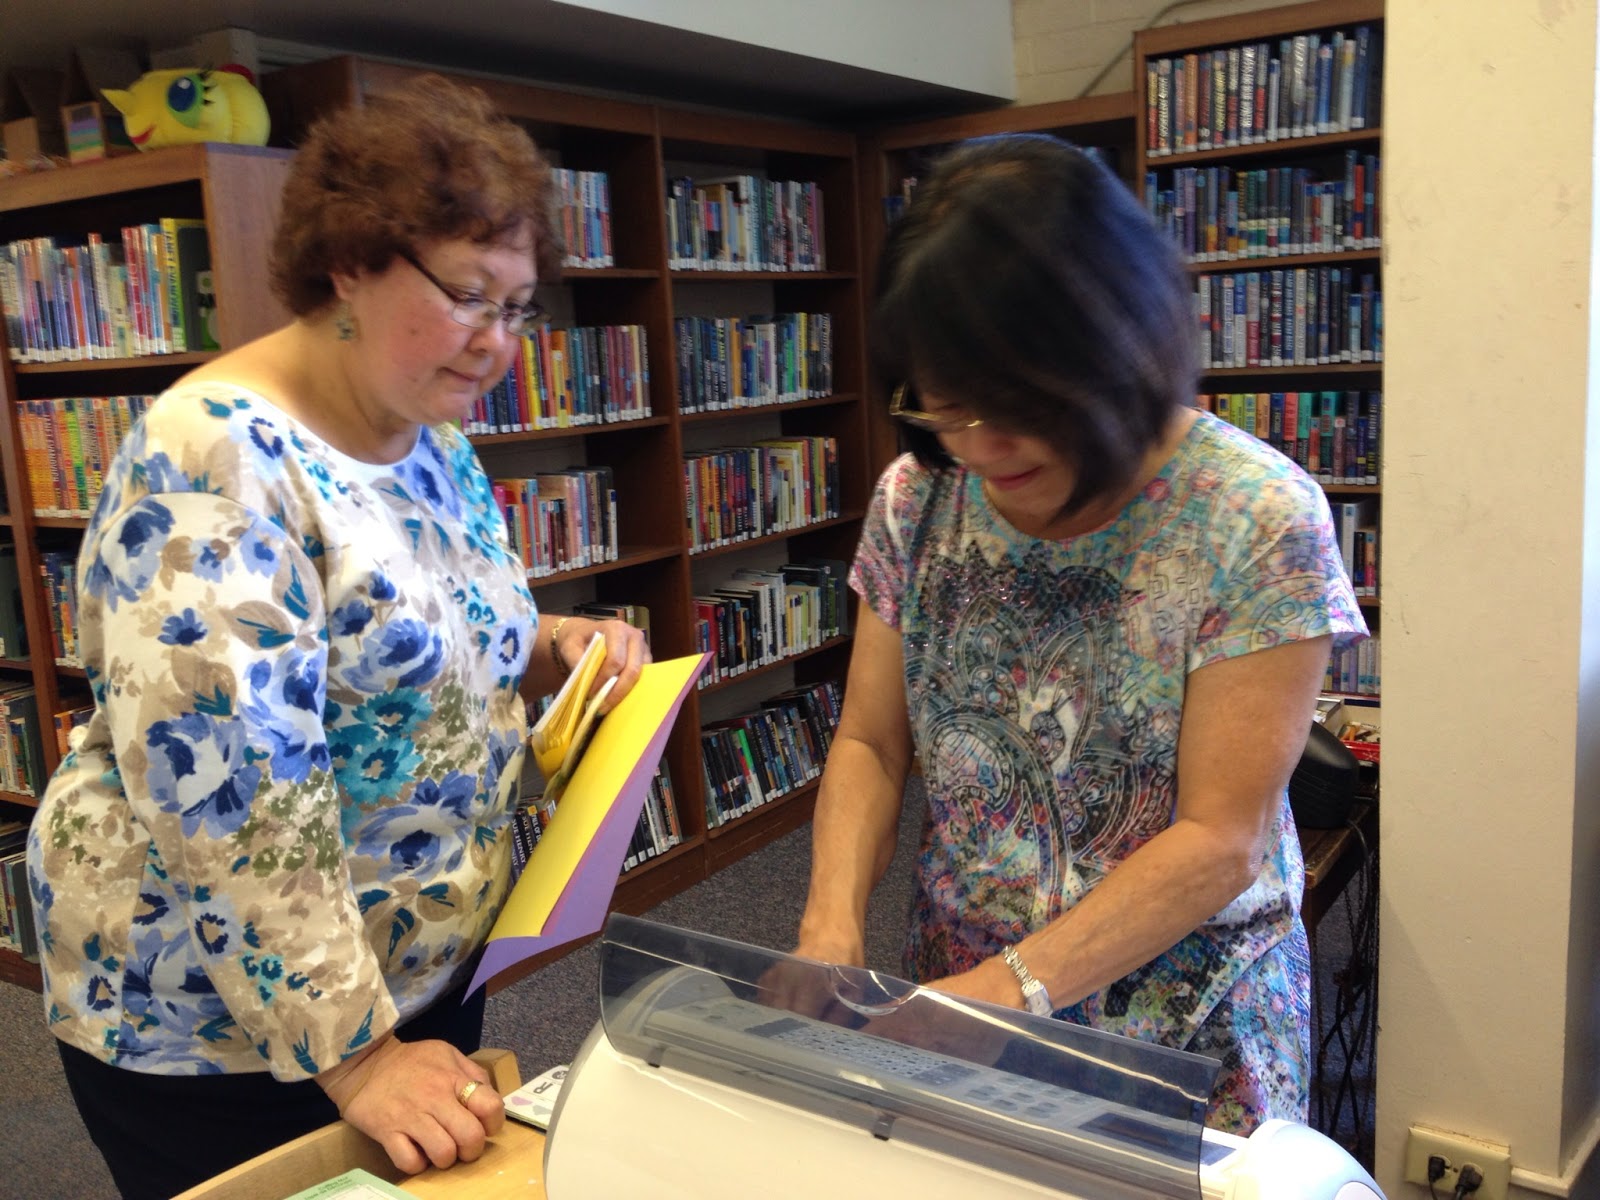
A group of 5 of us had a great time "Cricut-ing" on Sunday... For this month's workshop, Bliss brought out her Cricut and gave us a little tutorial for successfully creating layered die cuts.  Our first step was to choose our image by flipping through the guide books of her many Creative Memories cartridges.  The number of colors in the sample image indicates the number of layers the image would involve... We wanted to stick to an image that has 3-4 layers.

Bliss gives an intro to today's workshop - she's such a great teacher!
I found my image of choice... I was instantly drawn to the envelopes with hearts.
Once we selected our images, it was time to turn the Cricut on and learn its different functions!  In my experience, it's always best to do a test run on scrap paper.  This also allows us to gauge the size of the image, as it's hard to determine the best size from the sample page.
 
This is Brenda's Cricut.  Bliss has the Cricut 2, which has a touch screen.
Brenda sends her three colors through the machine. 
It can do multiple images on one sheet, which is perfect for workshops!
I always have some difficulty selecting my colors for the layering, as you're never sure how the end result will turn out.  I stuck to basic colors for my image, and let the Cricut do the rest of the work...
 
 
Then it was on to assembling the cards, so we could swap at the end of the workshop.  We ended up with a nice variety of 6 six cards. Yay!
 
 
Looking forward to more creative projects in 2013... Got any ideas?  Comment below, and we'll see if we can incorporate your ideas into one of our upcoming workshops.  Join us every 3rd Sunday!

Wednesday, December 19, 2012

More Stationery Fun!

Along with creating personalized stationery gifts for Christmas, I also wanted to do an assortment of flat notecards for different occasions.  Creative Memories is always releasing new content, and I've noticed that more and more art is geared towards creating cards, which makes designing them super fast and easy! Here are the three sets I've created...  
 
"Birdy Birthday Digital Kit"


  "Personalized Stationery Digital Card Kit"


"Thank You Digital Card Kit"


Contact me if you're interested in a particular set (or an assortment)!  I find that notecards always come in handy and make great gifts. 


Wednesday, November 7, 2012

November Workshop: Thanks a Bunch

"Thanks a Bunch"
Sunday, November 18 from 1 to 4 pm
Nishida residence in Aiea
Kit Cost: $15
RSVP by November 13
bring your tape runner!
Join us for an afternoon of crafting, as we'll complete a dozen or so thank you notes using the "Just Because" card set.  Because the notecards (and envelopes) are preprinted, we'll keep the designs simple and quick.  As we approach the season of Thanksgiving and Christmas, I'm sure these notecards will come in quite handy!